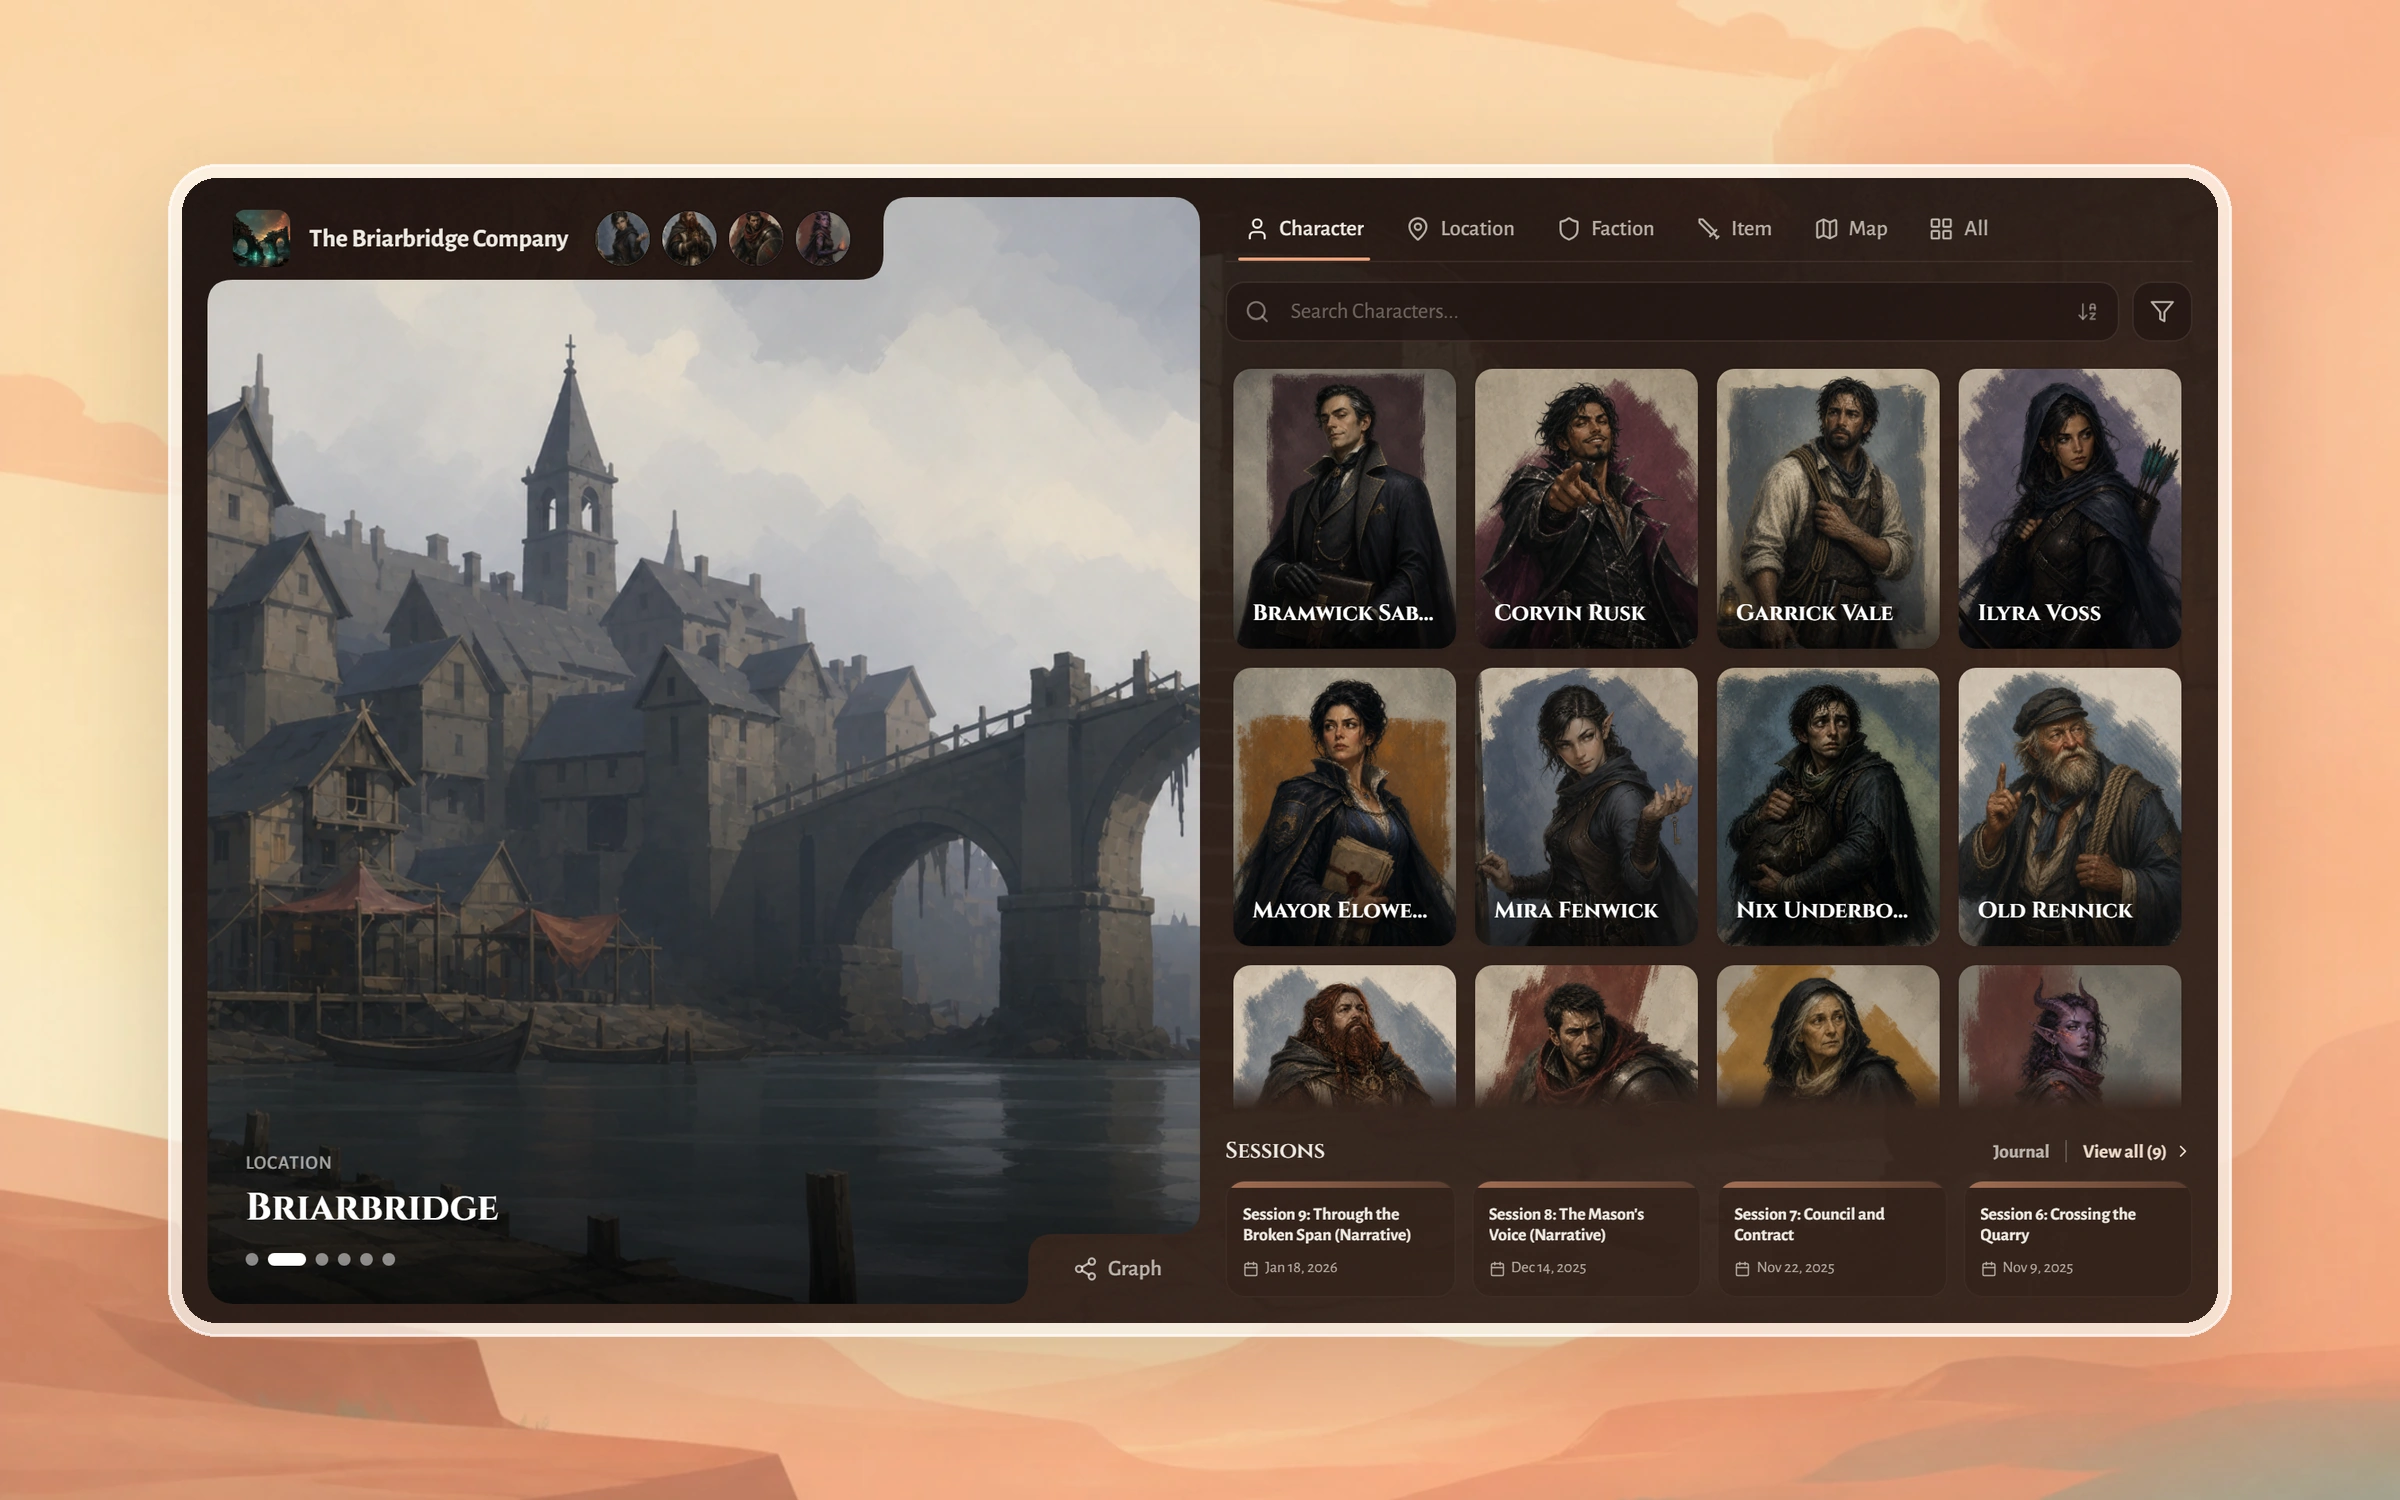
When you finish this guide, each of your players will have a single link to your campaign wiki, a page for every character, and a recap after each session. Reading the wiki needs no account, and your players pay nothing.
Turn on the Campaign Wiki
The campaign wiki is the part of your world that your players can look at. It stays off until you turn it on, and nothing from your campaign is shown to players until then.
The switch is Campaign Wiki in Settings, then Campaign. Once it is on, the same card shows your link with Copy link and Open wiki. The Campaign Wiki button on your Dashboard opens the wiki too. Until the switch is on, that button opens a page saying the wiki is disabled, with an Open Settings button to fix it.
The rest of the wiki settings, from the front page to its fonts, are on the wiki itself. Open it and select the cog in the corner for Owner settings.
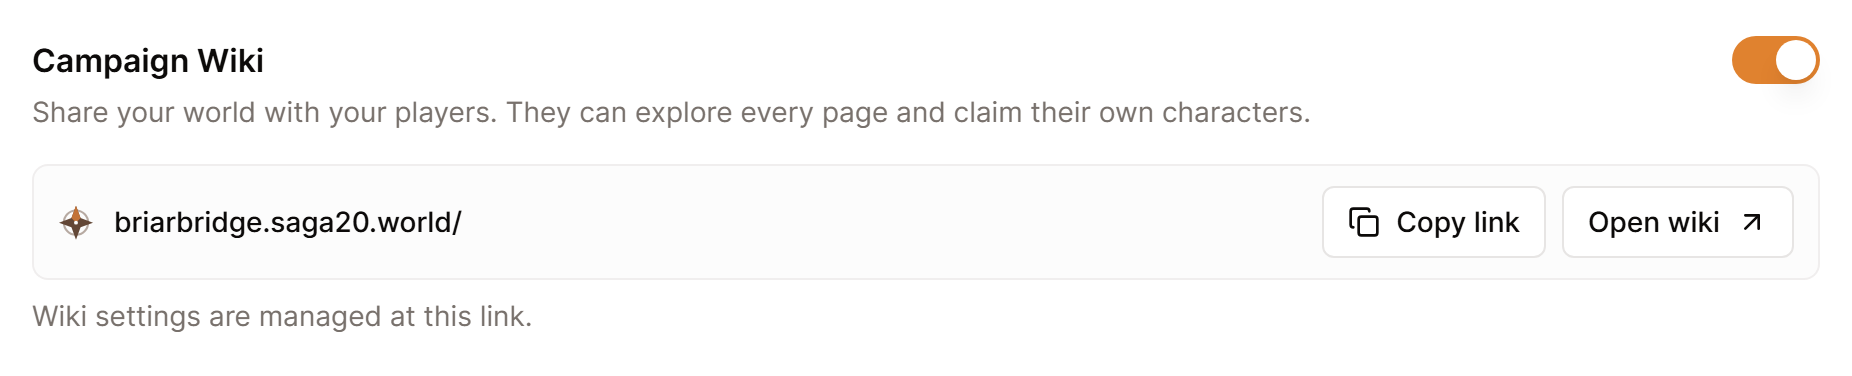
Show me the Campaign Wiki button, opens in a new tab
Send the link
Send the link from Settings and pin it in your group chat or your Discord channel, where players can find it again between sessions.
If your plan includes a custom link, you can swap the long address for a short one on saga20.world, such as briarbridge.saga20.world. Settings then hands out the short link, and the original address keeps working for anyone who already has it.
What anyone with the link can read
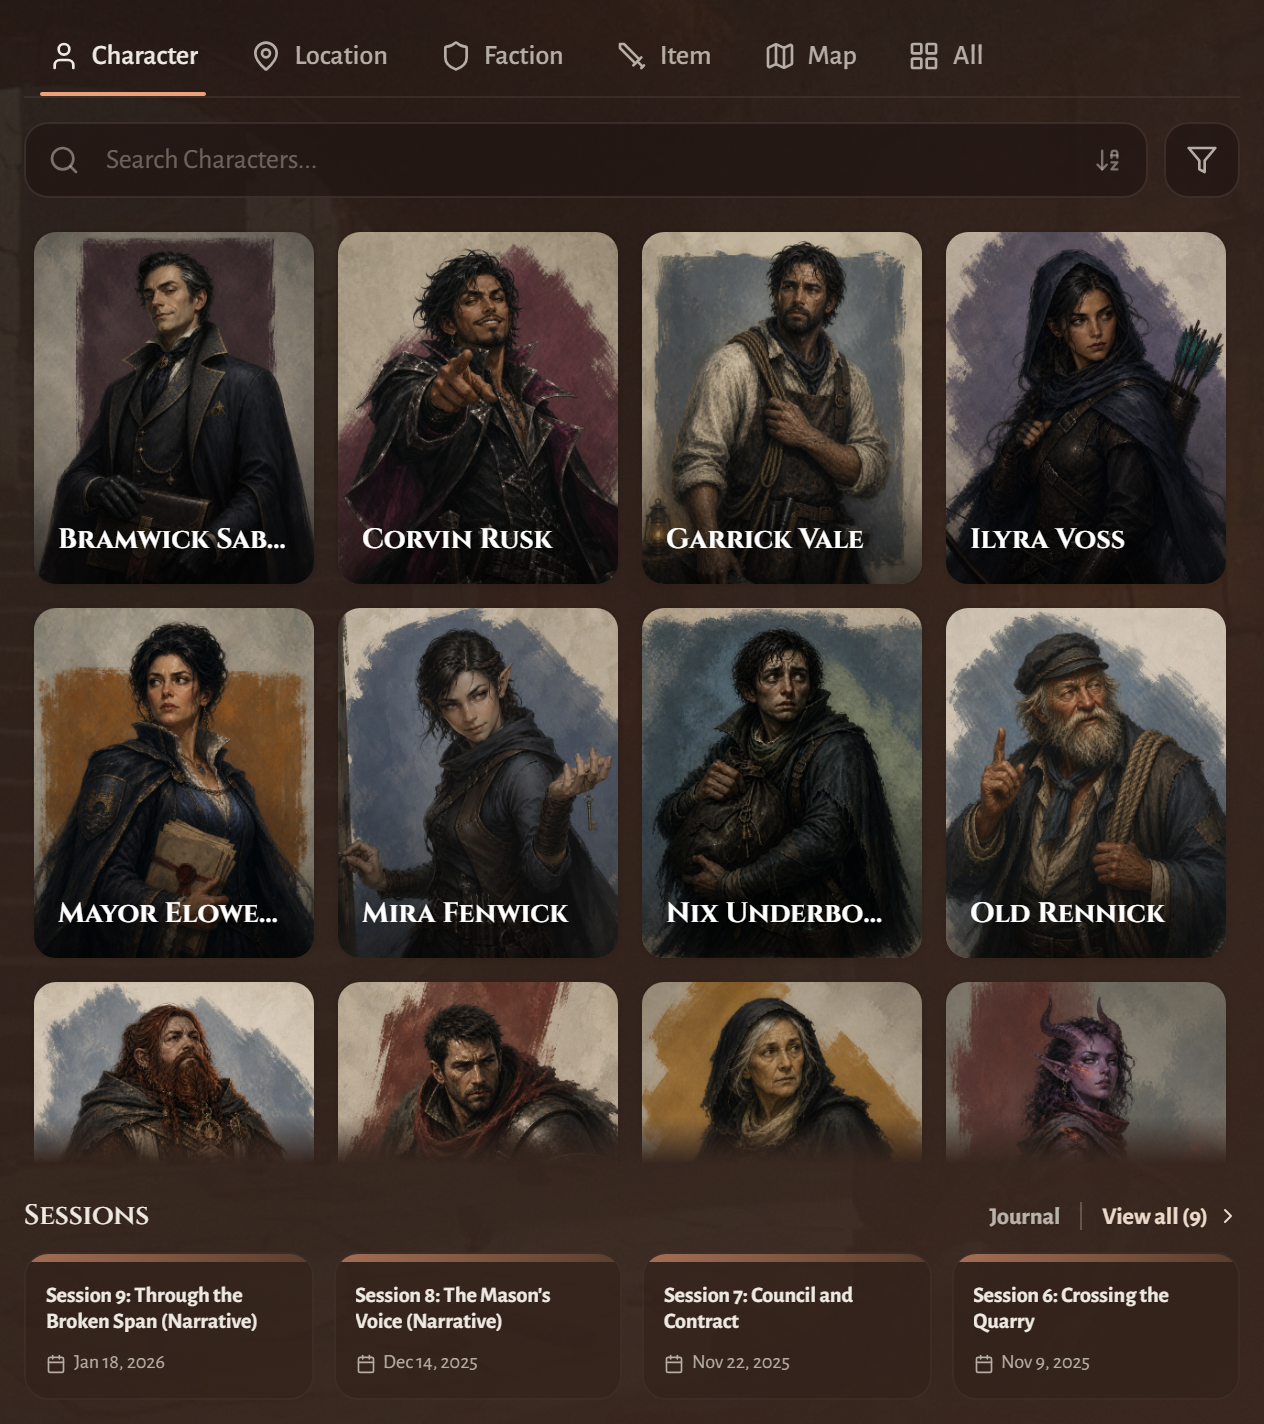
A visitor can browse your characters, NPCs, locations, factions, items and custom sections without signing in. They can open your maps and the Graph, follow the Campaign Journal, and read each character's Story So Far.
Beyond that, they can read the recap for every session you have made public. Pages you hide, passages inside GM notes, and private sessions are never shown to them.
To read the wiki exactly as a player does, open it in a private browser window where you are signed out.
Bring your players in to claim their characters
A claimed character page belongs to its player, who can write the backstory, change the portrait, keep a character sheet and add moments to the character's story, while the rest of the world stays yours. Claiming works when every link in this chain is in place:
- The wiki is on.
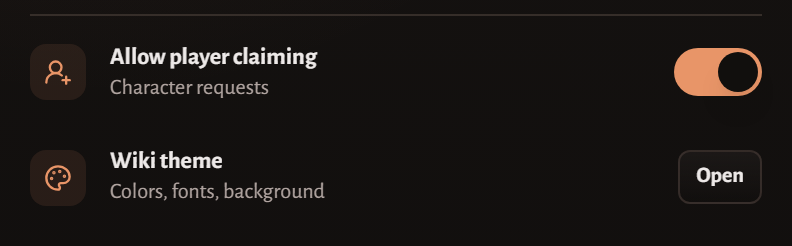
- Allow player claiming is on in Owner settings. It starts on.
- The character is a player character, filed under Characters in World rather than NPCs, and its page is visible in the wiki.
- The player opens that page, selects Sign in to claim, signs in, then selects This is my character.
- You approve the request.
When a request arrives, you get an email naming the player and the character. The character's page in World shows a card with Approve and Deny, and a small marker sits beside that character in the World sidebar until you answer.
You never see the claim button on your own wiki, because you run the campaign. Someone who helps you run the game joins as a Co-GM instead, when your campaign has Early Access to campaign access.
Get each recap onto the wiki
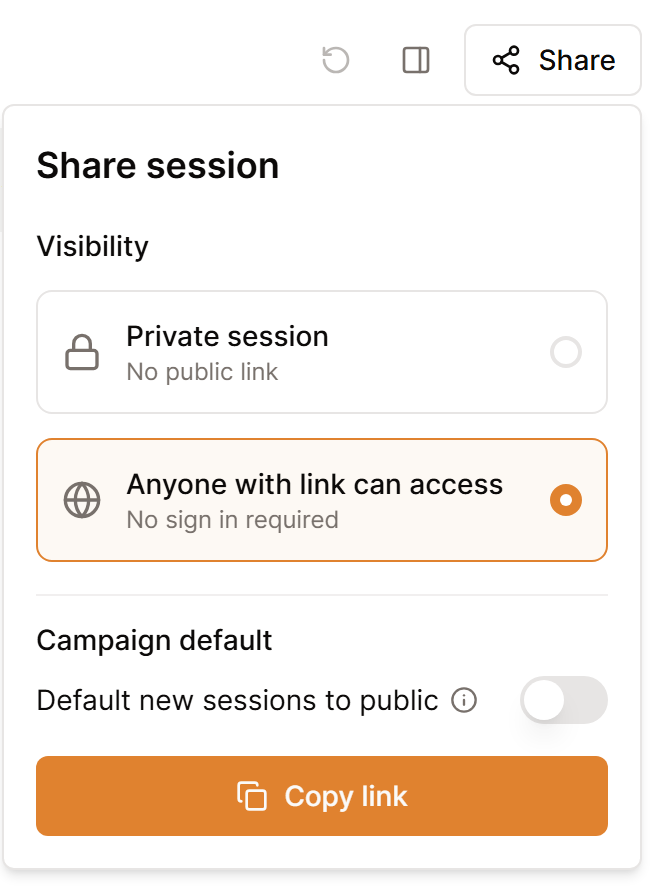
Every session starts private. A recap reaches the wiki, and gets a link you can share, once you open Share on the session and choose Anyone with link can access. When players say they can only see one session, this is almost always why.
To avoid switching each one by hand, switch on Default new sessions to public in the same panel. Saga20 will then offer to make your earlier sessions public too, using Make all public or Just future sessions.
A public recap goes out exactly as written, so give it a read first and cut anything the party has not learned yet.
Post recaps to Discord
If your group lives in Discord, connect your server under Discord Settings in Settings, then Campaign, and pick a channel. A Publish button then appears on each finished session, and the post links back to the full recap.
Publishing makes that session public, so the recap shows on the wiki as well. It stays public while the Discord message is up, so remove the message from the session page before you make the session private again.
Make your first recap public before you send the link, so players open a wiki with a story already in it.